Variables Overview
This is a sample from a previous documentation project. The target audience were sales admins looking to generate templates which minimize manual entry from their sales reps. Names and identifying content have been changed.
Looking to enhance your reps’ efficiency by minimizing the need for manual data entry and reducing the risk of errors? Consider leveraging variables, a powerful solution that streamlines the process by automatically populating vital information.
Variables (aka ‘shortcodes’ or ‘merge tags’) are snippets of text that change from document to document.
For example, if you generated a new document and needed to change all instances of the prospect’s company name, use the [Company] variable in your template. When you create a new document and link it to a prospect, we’ll add their company automatically.
There are two parts to using a variable:
- Adding variables to your template.
- Inputting the appropriate data to fields in document Settings, Clients, and Users.
Insert a Variable
To insert a variable, enter a text box and select Variables:

You can also access the list of variables while typing in a textbox by pressing # on your keyboard.

Change Variables
After a variable is inserted, select it to change it to another variable.
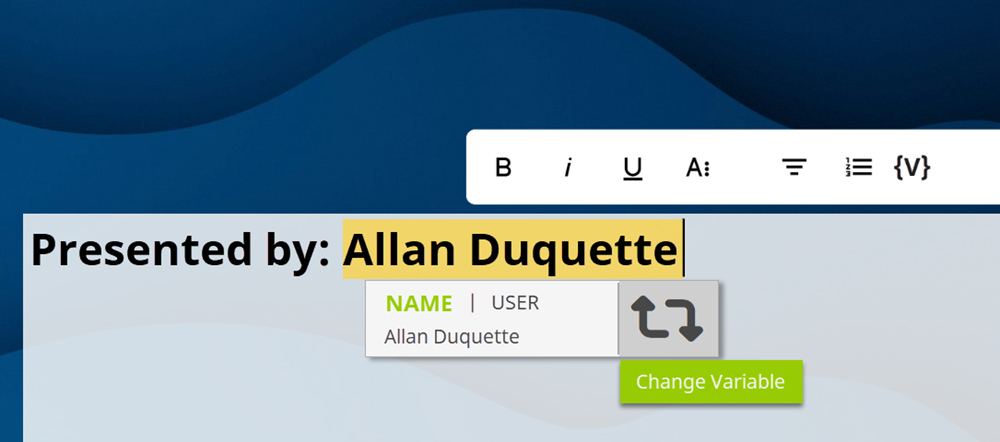
The variable highlight only appears in the editor so you can easily tell the difference between a variable and something manually entered. Your prospect will not see this.