Create a Sales Document
Note
This is a sample from a previous documentation project. The target audience were salespersons looking to quickly generate a sales document. Names and identifying content have been changed.
This page will walk you through the basics of setting up a new sales document, adding a client, and choosing a template.
Step 1
When you want to generate a new sales proposal, select +Document from your dashboard.

Step 2
Next, hover over a template and select Use This.
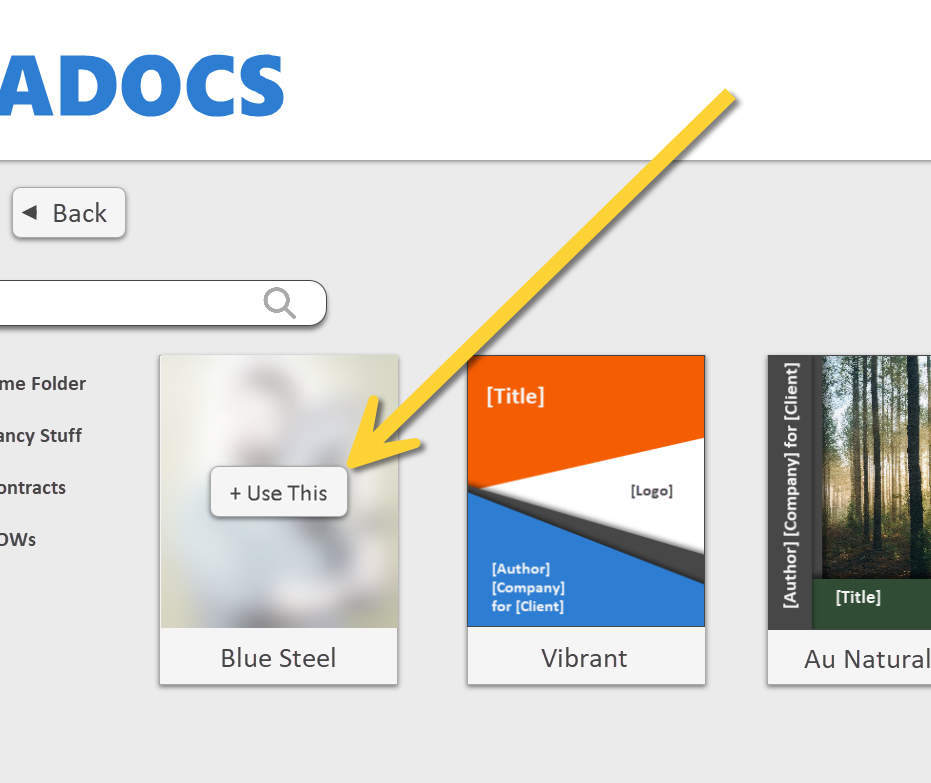
Once selected, you’ll move to the Document Settings screen.
Step 3
Enter your client and document details. Much of this is optional, but we’ll need some important information in order to generate a document. These are:
- Document Name - what to call this document?
- Client Contact - who is this being sent to?
- Assignee - who is getting the commission once the sale closes-?
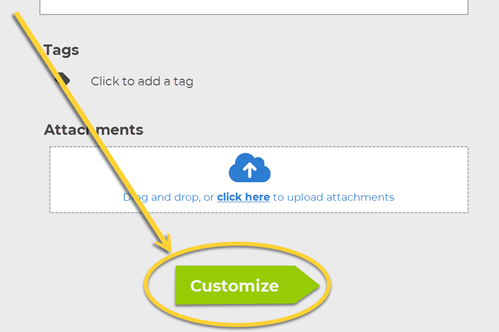
Once you’ve filled out all relevant fields, select Next Step to enter the Editor.