Building a JSON Schema
This is a sample from a previous documentation project. The target audience were front-end developers installing a backend machine learning service. Names and identifying content have been changed.
For those who work faster in an IDE, rather than our GUI, you can create a JSON file and upload it directly to our system. This page will guide you to building a schema from scratch and uploading it to our service.
Schema Components
Each schema is broken into four parts:
- Schema flag
- User object
- Other objects
- Interactions
For more detail on how each one works, read our Schema Components Breakdown.
Getting Started
Each file must contain the schema flag in order to be recognized by our training algorithm. It must be the only top-level item.
{
  "schema": {}
}
Next, a user object must be created. This is the object the machine learning algorithm trains off of.
{
    "schema": {
        "user": {},
    }
}
Then include interactions to identify what users can do with each object.
{
    "schema": {
        "user": {},
    "interactions": {},
    }
}
Building Objects
Once the schema is created, add any other objects for the algorithm to train from. In our example, we will be a book recommendation service with millions of users. We want to gauge active accounts by using the active and inactive labels.
{
    "schema": {
        "user": {},
        "book": {},
    "interactions": {},
    }
}You can have as many keys and objects as you need, but each must be unique to avoid collisions.
Building Labels
{
    "schema": {
        "user": {
            "labels" : ["active", "inactive"],
        },
        "book": {},
        "interactions": {},
    },
}
Building Attributes
Next, select attributes for the user. Then set the attribute type. Click here to learn about attribute types. You can also add relevant information, such as min_date and map_to, seen below:
{
    "schema": {
        "user": {
            "labels" : ["fake", "not_fake"],
            "last_active": {
        "type": "date",
          "min_date": "1960-01-01",
          "map_to": "user_last_login",
      },
        },
        "book": {},
        "interactions": {},
    },
}
Attributes will also need to be attributed to all other objects. For our example, we’ll create a book-isbn attribute with the type number.
{
  "schema": {
    "user": {
      "labels" : ["fake", "not_fake"],
      "date_of_birth": {
        "type": "date",
            "min_date": "1960-01-01",
            "map_to": "user_last_login"
      },
        },
        "book": {
            "book-isbn":{
                "type":"number"
            },
    },
    "interactions": {}
  }
}
Building Interactions
There are important rules to follow when building interactions:
- They must be on the same level as the
userobject. - They must contain at least one element inside of it that contains the structure
_with_*. For example,_with_user,_with_recipe,_with_article, etc.
{
  "schema": {
    "user": {
      "labels" : ["fake", "not_fake"],
      "date_of_birth": {
        "type": "date",
            "min_date": "1960-01-01",
            "map_to": "user_last_login"
      }
    },
    "book": {
        "Book-Title":{
          "type":"number"
        },
    },
    "interactions": {
        "_with_book": {},
    }
  }
}You can include as many _with_* objects as you need, provided they’re defined in the schema as a high-level object (for example, _with_user).
Interactions can include their own attributes.
{
  "schema": {
    "user": {
      "labels" : ["fake", "not_fake"],
      "date_of_birth": {
        "type": "date",
            "min_date": "1960-01-01",
            "map_to": "user_last_login"
      }
        },
    "book": {
        "Book-Title":{
          "type":"number"
        },
    },
    "interactions": {
        "_with_book": {
              "like": {
                "rating": {
                    "type": "number"{
                        "minv": "1",
                        "maxv": "5",
                    }
                }
            }
          "dislike": {}
        }
    }
  }
}
Here’s an example of a finished Schema.
|
|
Uploading a JSON Schema
If no previously published Schema versions have been created, you can upload a schema draft in JSON format.
This option will only be available on the Schema version toolbar until your first version is published.
To upload your schema:
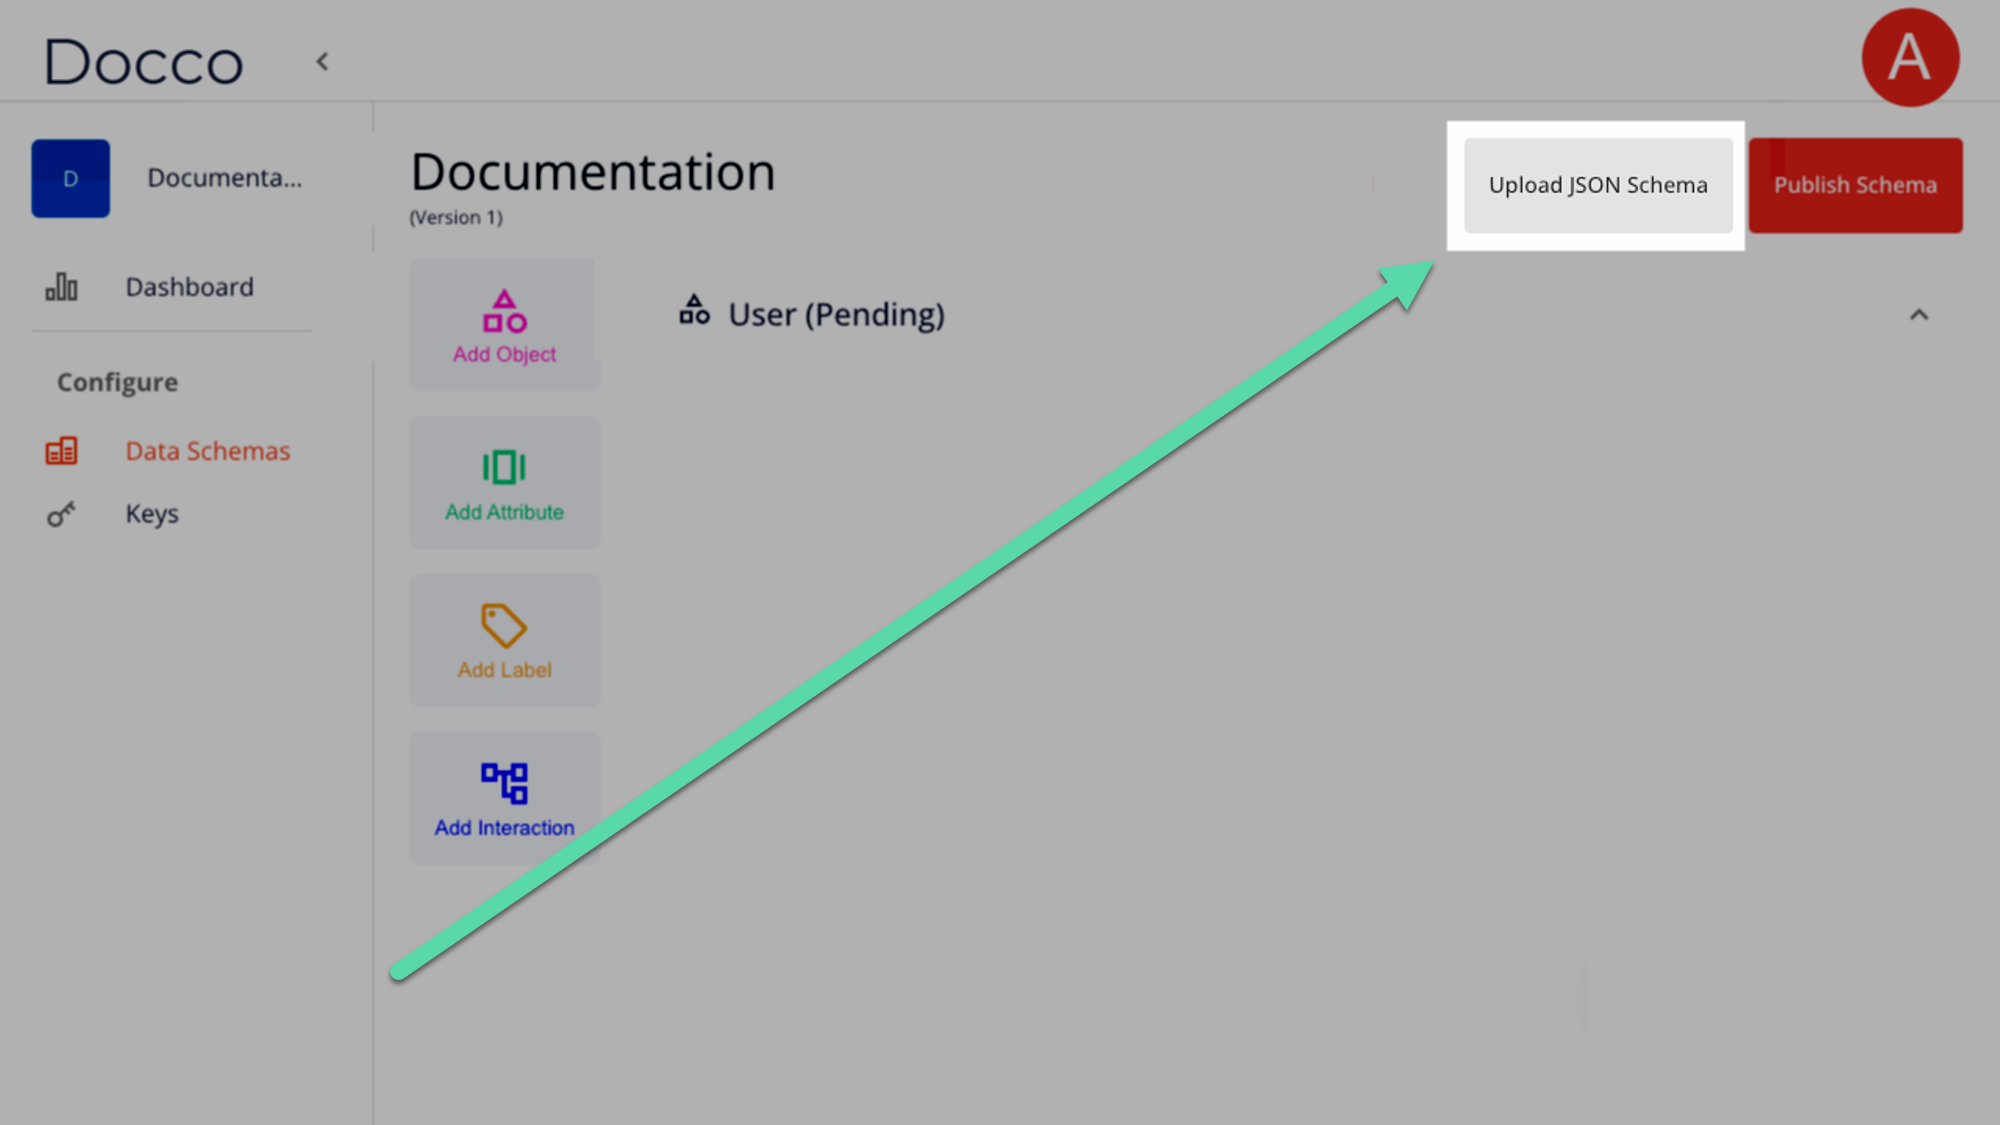
- Select Upload JSON Schema from the Version Toolbar.
- Locate the JSON file to upload on your computer. This will load the file into a preview screen.
- Run the validation and correct any structural errors. Then select Save
Once uploaded, you’ll return to the Schema Builder, where you can make further changes or publish.